Testes em Localhost
Por padrão, o Zenovay bloqueia o rastreamento em localhost e outros ambientes locais para evitar que dados de teste poluam sua análise. Você pode ativar o rastreamento local para desenvolvimento e testes.
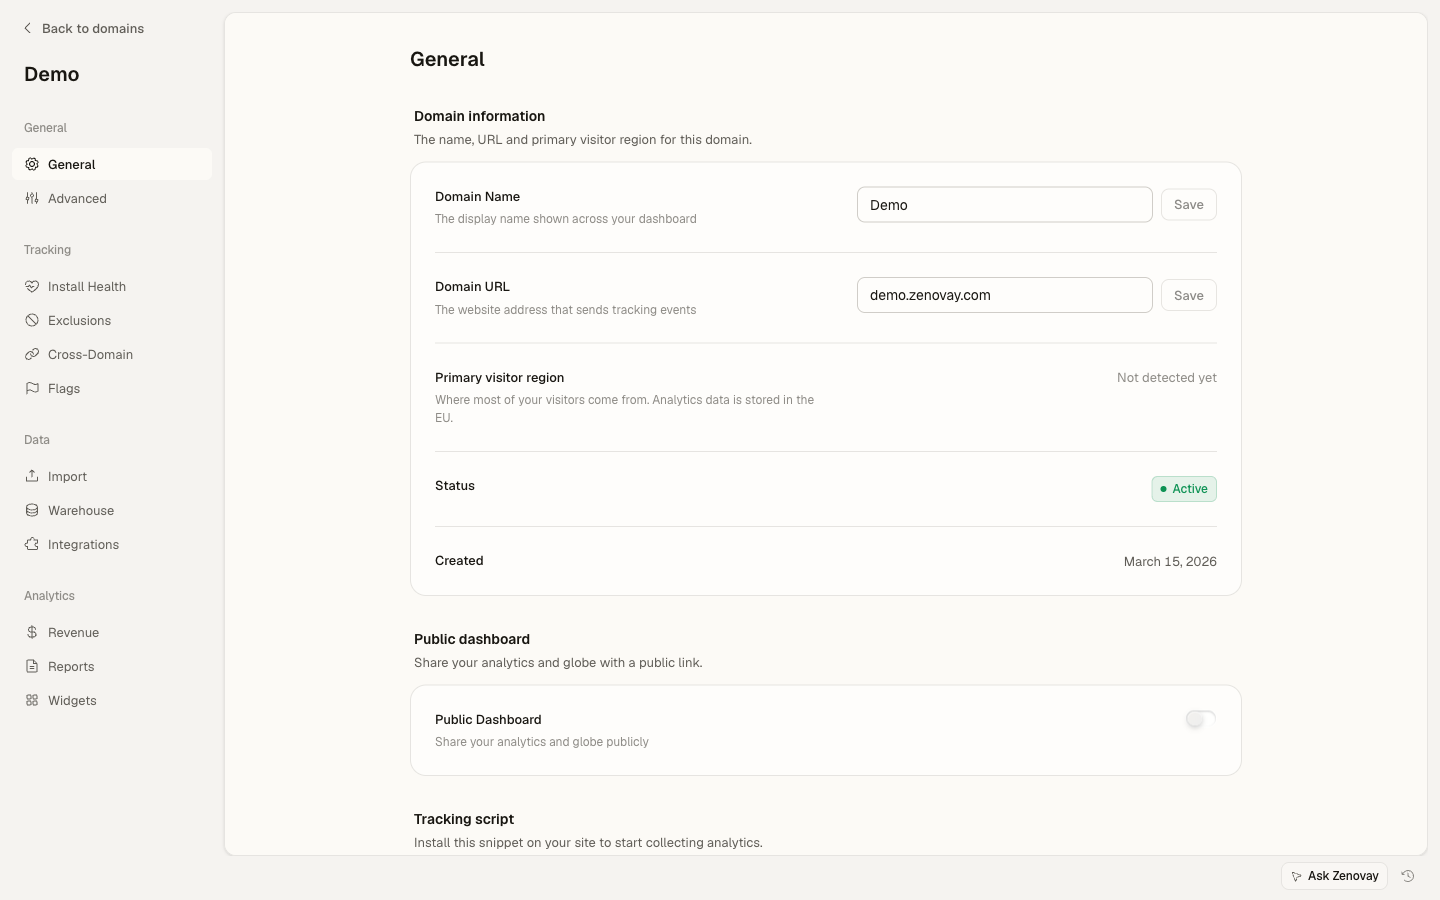
Ativar Rastreamento em Localhost
Opção 1: Alternador no Painel (Recomendado)
- Acesse seu Painel do Zenovay
- Abra Domínios e clique no seu site
- Nas configurações do domínio, abra a seção Avançado
- Ative o alternador "Permitir Localhost"
- Clique em salvar
As mudanças entram em vigor em até 30 segundos para novos carregamentos de página. Se a página já estava aberta, faça uma atualização forçada (Ctrl+Shift+R / Cmd+Shift+R).
Opção 2: Atributo do Script
Se preferir controlar isso por ambiente via seu HTML, adicione data-allow-localhost="true" à tag do script:
<script defer
data-tracking-code="YOUR_TRACKING_CODE"
data-allow-localhost="true"
src="https://api.zenovay.com/z.js">
</script>
Nota: a configuração do painel acima é o controle efetivo. O servidor só aceita eventos de localhost quando ela está habilitada, e a busca de configurações do tracker tem precedência sobre este atributo. Mantenha o atributo para desenvolvimento offline (quando a busca de configurações não pode ser concluída); ele não tem efeito em domínios de produção.
Opção 3: Carregamento Dinâmico de Script
Para frameworks como React ou Next.js onde você carrega o script dinamicamente:
const script = document.createElement('script');
script.src = 'https://api.zenovay.com/z.js';
script.defer = true;
script.setAttribute('data-tracking-code', 'YOUR_TRACKING_CODE');
script.setAttribute('data-allow-localhost', 'true');
document.head.appendChild(script);
Como Funciona
O rastreador do Zenovay detecta ambientes locais verificando o nome do host:
| Nome do Host | Detectado como Local |
|---|---|
localhost | Sim |
127.0.0.1 | Sim |
::1 | Sim |
*.localhost (ex: app.localhost) | Sim |
*.local (ex: meusite.local) | Sim |
127.x.x.x (qualquer loopback) | Sim |
Quando um ambiente local é detectado, o rastreador verifica duas coisas (nesta ordem):
- Configurações do servidor — O rastreador busca a configuração do seu site da API do Zenovay. Se
allow_localhostestiver ativado no painel, o rastreamento prossegue. - Atributo do script — Se a chamada da API falhar ou não tiver sido concluída, o atributo
data-allow-localhost="true"na tag do script atua como fallback.
Se nenhum deles estiver definido, o rastreamento será bloqueado e você verá esta mensagem no console do navegador:
[Zenovay] Environment blocked — Localhost blocked (use data-allow-localhost='true' to enable)
Verificando Se Funciona
Console do Navegador
Abra DevTools (F12) → aba Console. Com o rastreamento em localhost ativado, você deve ver:
Zenovay Analytics loaded { trackingCode: "ZV_...", reason: "Active" }
Se localhost estiver bloqueado, você verá:
[Zenovay] Environment blocked { reason: "Localhost blocked (use data-allow-localhost='true' to enable)" }
Para ver saída de depuração detalhada, também ative Modo de Depuração nas configurações Avançado do domínio (abra Domínios, selecione seu site e abra a seção Avançado), ou adicione data-debug="true" à tag do script. Esta é uma configuração separada de Permitir Localhost.
Aba Rede
Abra DevTools → aba Network e filtre por zenovay ou api.zenovay.com:
GET z.js— Script carregado (200 OK)GET /api/websites/settings/ZV_...— Busca de configurações (200 OK, a resposta incluiallow_localhost: true)POST /e/ZV_...— Evento de pageview rastreado (200 OK)
Se a etapa 3 retornar 403, sua verificação de domínio está bloqueando a solicitação. Certifique-se de que allow_localhost está ativado nas configurações do seu painel.
Painel
Após carregar uma página em localhost, acesse seu painel do Zenovay. Abra Domínios, selecione seu site e abra a aba Análise. Na seção de detalhamento de Hosts, você deve ver localhost (ou 127.0.0.1) listado como uma fonte.
Modo de Depuração vs Permitir Localhost
Estas são duas configurações separadas com propósitos diferentes:
| Configuração | Propósito | Onde Ativar |
|---|---|---|
| Permitir Localhost | Permite que o rastreador funcione em ambientes locais | Domínios, selecione seu site, seção Avançado, alternador "Permitir Localhost" |
| Modo de Depuração | Registra eventos de rastreamento detalhados no console do navegador | Domínios, selecione seu site, seção Avançado, alternador "Modo de Depuração" |
Você pode ativar ambos durante o desenvolvimento para máxima visibilidade, mas funcionam independentemente.
- Permitir Localhost apenas controla se o rastreamento é executado em localhost
- Modo de Depuração apenas controla se a saída de depuração aparece no console
Usando com o Endpoint de Carregamento
Se você usar o endpoint /load (recomendado para produção), as configurações de localhost são injetadas automaticamente pelo servidor:
<script defer
data-tracking-code="YOUR_TRACKING_CODE"
src="https://api.zenovay.com/load/YOUR_TRACKING_CODE">
</script>
Com o endpoint /load, você só precisa ativar "Permitir Localhost" no painel — nenhum atributo data-allow-localhost é necessário.
Proxy de Primeira Camada em Localhost
Se sua configuração de produção usar um proxy de primeira camada (ex: /api/_z/script.js), o proxy normalmente não funcionará em localhost pois é uma rota do lado do servidor que encaminha para api.zenovay.com.
Soluções:
- Use o script direto em localhost: Alterne para
https://api.zenovay.com/z.jsem desenvolvimento - Configure um proxy local: Configure seu servidor de desenvolvimento para fazer proxy de
/api/_z/parahttps://api.zenovay.com/ - Use URL de script baseada em ambiente: Carregue de seu proxy em produção, direto em desenvolvimento
const isDev = window.location.hostname === 'localhost';
const script = document.createElement('script');
script.src = isDev
? 'https://api.zenovay.com/z.js'
: '/api/_z/script.js';
script.defer = true;
script.setAttribute('data-tracking-code', 'YOUR_TRACKING_CODE');
if (isDev) script.setAttribute('data-allow-localhost', 'true');
document.head.appendChild(script);
Solução de Problemas
Rastreamento não funciona em localhost
- Verifique a configuração do painel: Abra Domínios, selecione seu site, abra a seção Avançado e verifique se "Permitir Localhost" está ativado
- Atualização forçada: As mudanças levam até 30 segundos. Faça Ctrl+Shift+R para limpar scripts em cache
- Verifique o console: Abra DevTools e procure por mensagens
[Zenovay] - Verifique se o script carregou: Verifique a aba Network para
z.jsretornando 200 - Verifique bloqueadores de anúncios: As extensões do navegador podem bloquear análise mesmo em localhost
Eventos retornam 403
A API rejeitou sua solicitação de rastreamento devido à verificação de domínio. Isto significa:
allow_localhostnão está ativado nas configurações do seu site, OU- A configuração ainda não foi propagada (aguarde 30 segundos e tente novamente)
Eventos disparam mas dados não aparecem no painel
Os dados de localhost aparecem em sua análise junto com dados de produção. Verifique:
- Aba Hosts em Análise — procure por entradas
localhost - Filtros — certifique-se de que você não está filtrando o tráfego de localhost
- Intervalo de tempo — certifique-se de que está visualizando dados de hoje
Lembre-se de desativar "Permitir Localhost" antes de ir para produção se não quiser dados de teste em sua análise. Alternativamente, use a abordagem de atributo data-allow-localhost para que esteja ativo apenas em seu ambiente de desenvolvimento.